
Making a snowman is a highlight of the winter season, however, in lieu of snow, rice will
do. Here’s how you and your child can make a friendly seasonal decoration or holiday gift for
grandparents in seven simple steps.
What you’ll need:
White tube socks
Buttons
Sewing needle
White thread
Felt fabric
Scissors
Measuring cup
Rice
Cotton
Rubber bands
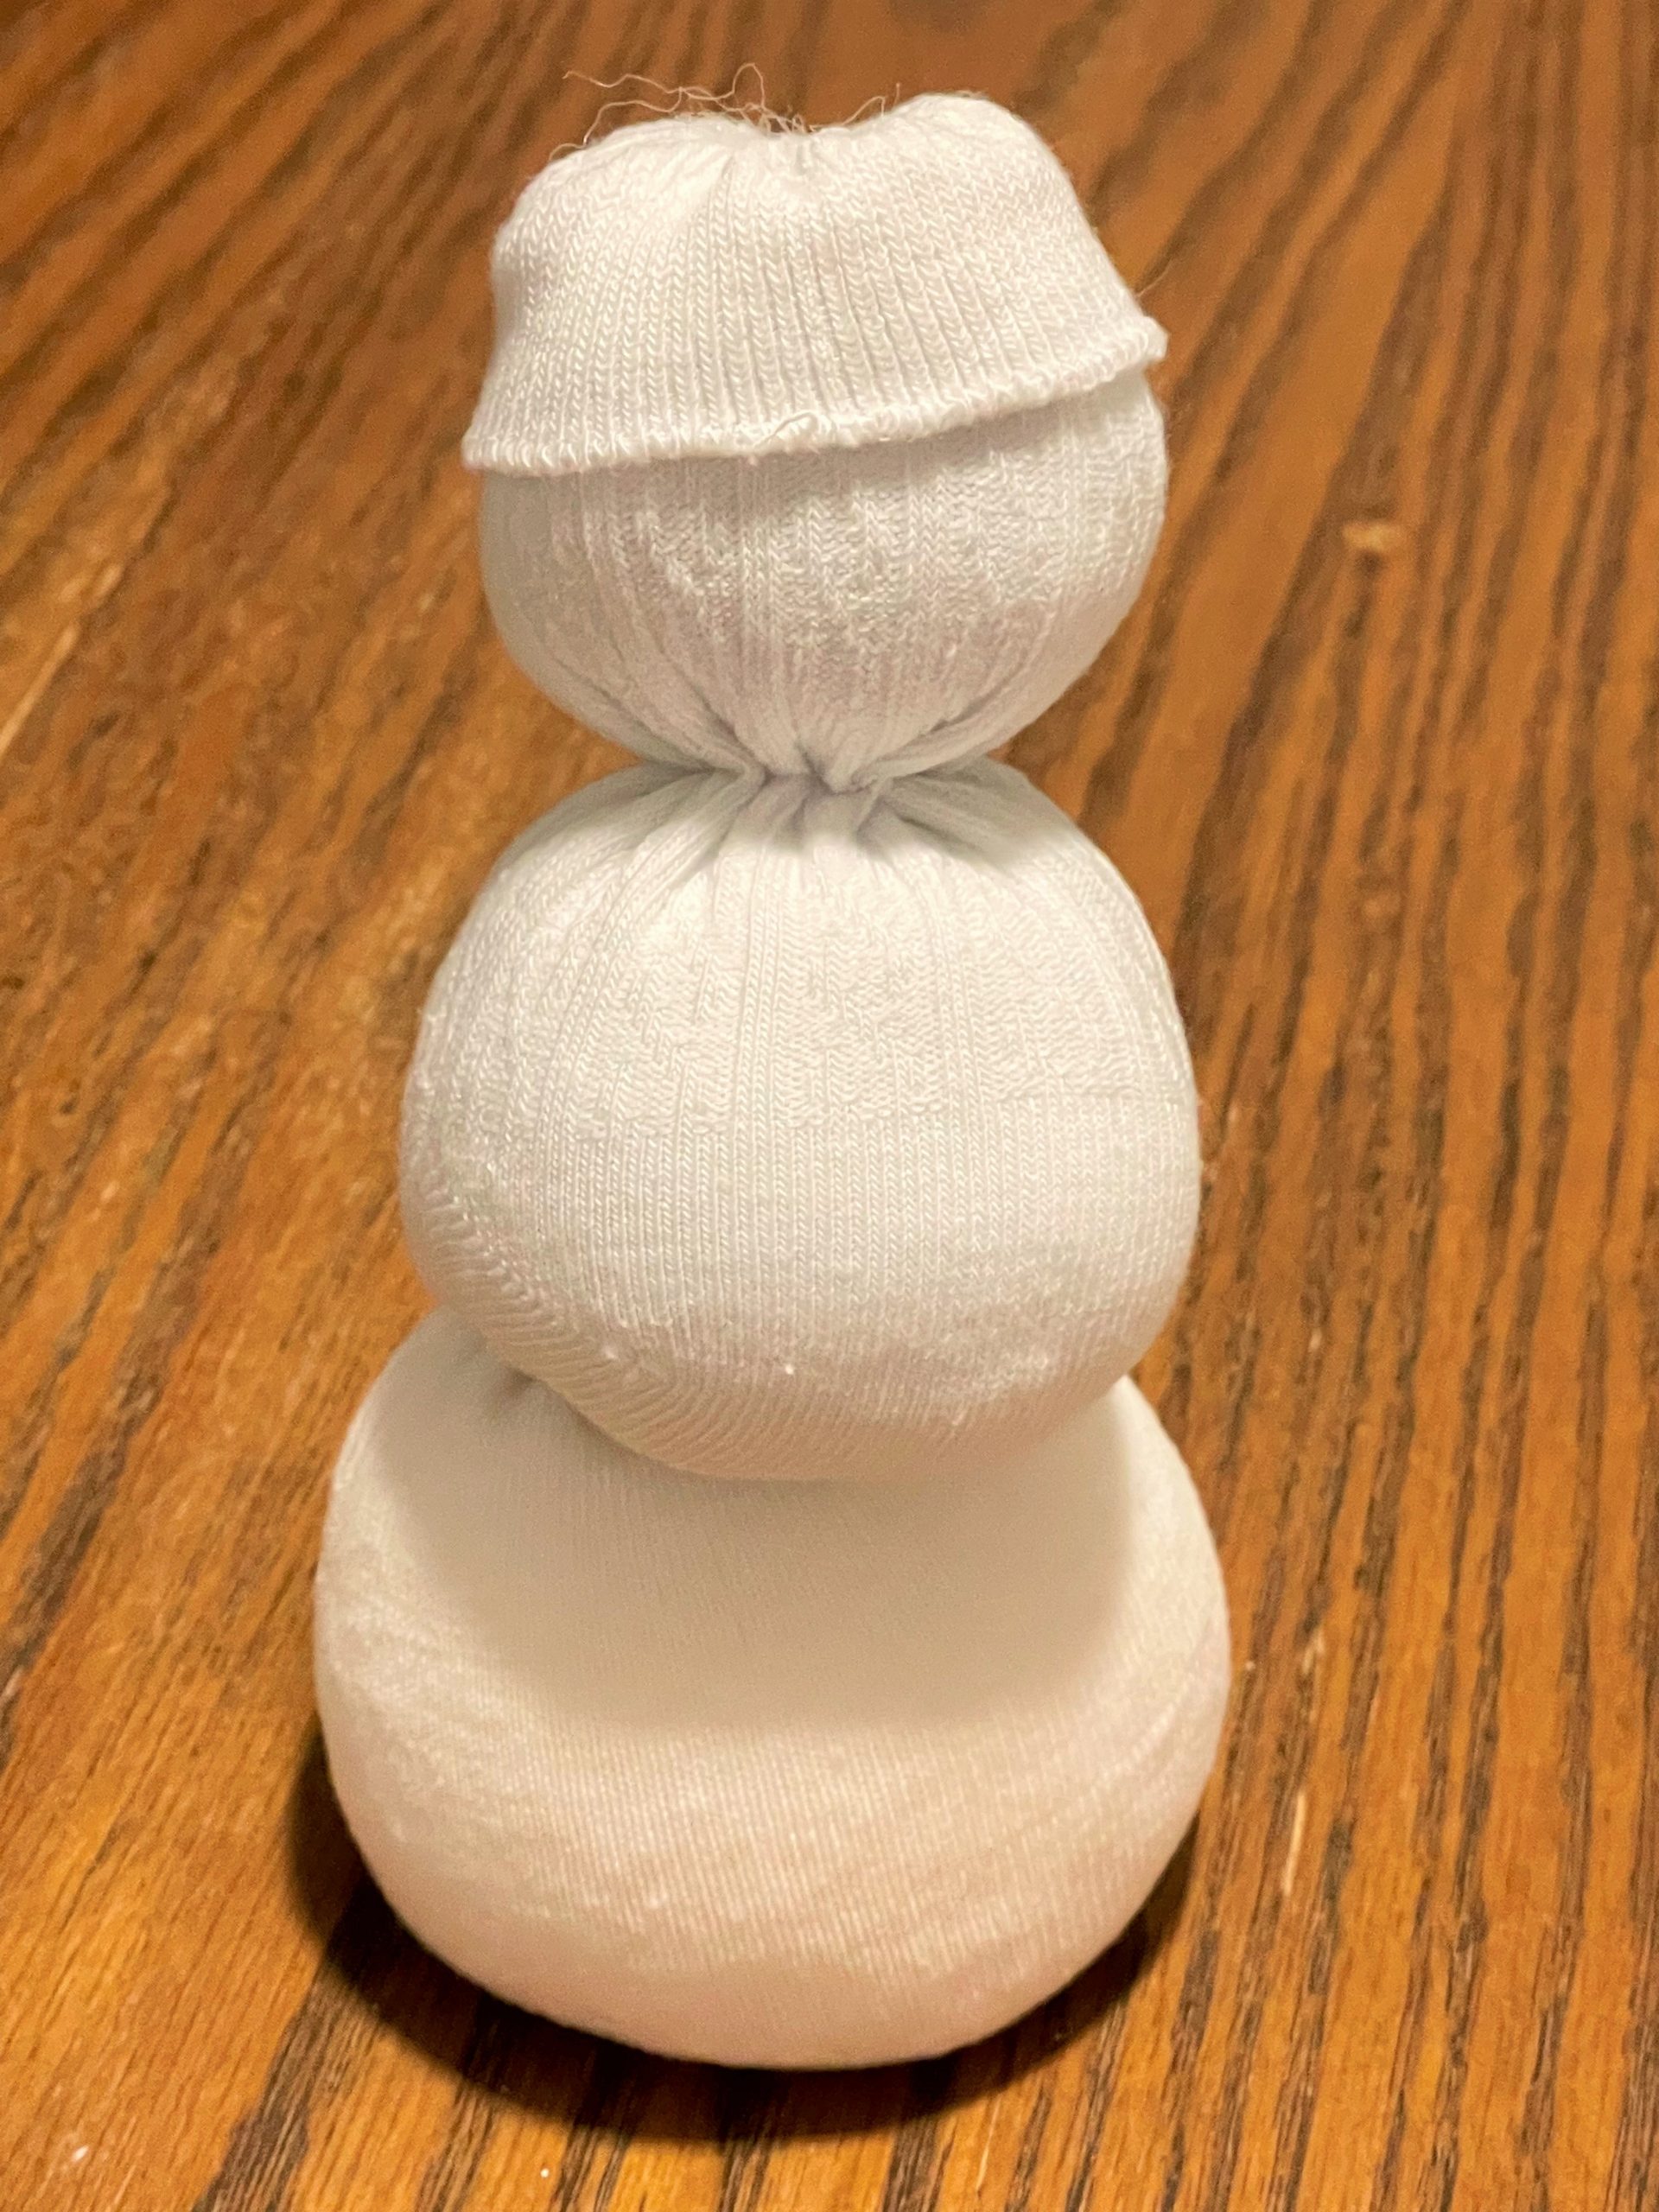
Step 1: The base
Start out by opening your white tube sock and pouring in two-thirds of a cup of rice. Gently shake the sock until you have the rice at the bottom. Then, pinch the sock above the rice and twist the upper portion slightly to hold the ball shape in place. Use a rubber band around the bottom of the twisted portion of the sock.
Tip: This is a great time to teach your child about measuring!
Step 2: The middle
While we used rice for the bottom portion, you’ll want to use cotton for the middle and top. This is so your snowman will be bottom-heavy and less likely to tip over. Stuff this middle section with cotton until it is only slightly less plump than the bottom portion. Repeat the rubber band process.
Tip: Using thin rubber bands will make it easier to hide them between segments.
Step 3: The top
Repeat Step 2 for the third and final segment of your snowman’s body. Fold the leftover sock over the top rubber band to form the hat.
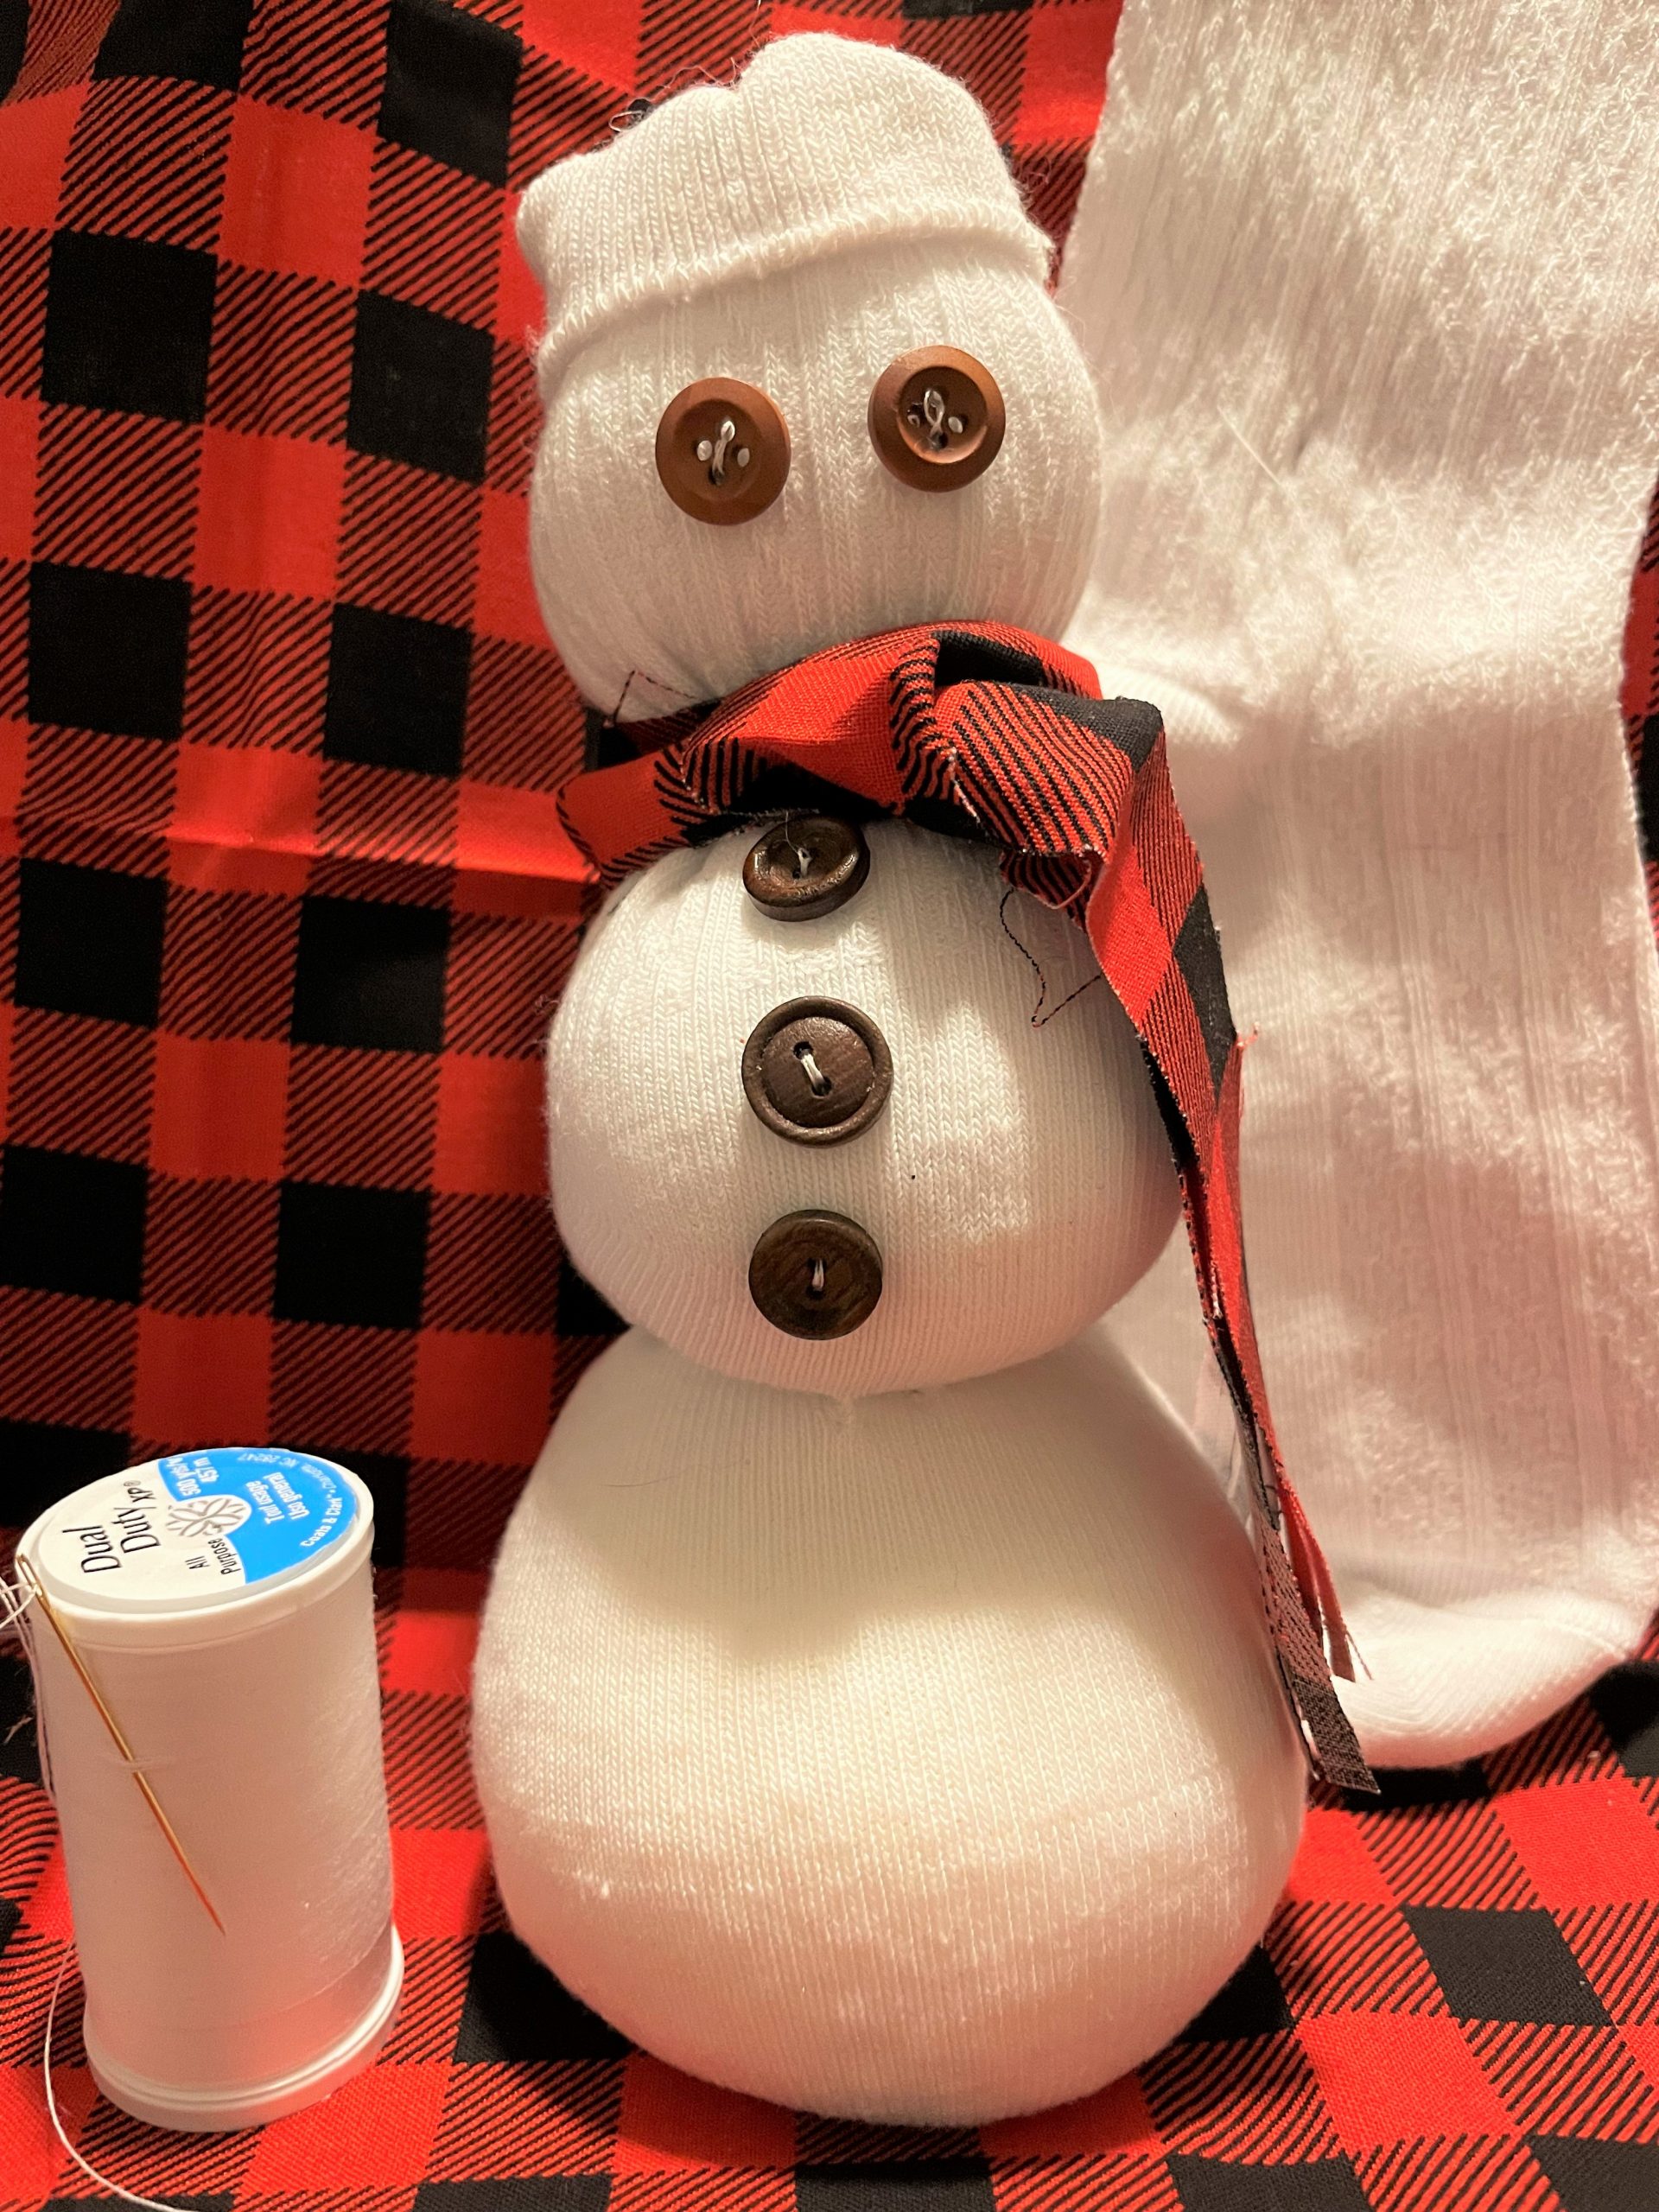
Step 4: The eyes
Using the needle and thread, attach two black buttons on the top segment for eyes. For a basic hand-sewing tutorial, visit thesprucecrafts.comlearn-stitches-and-hand-sewing-projects-2978472.
Tip: If you cannot attach the buttons by sewing, superglue will also work, but strong adhesives should only be used by adults.
Step 5: The torso
Attach three buttons to the abdomen of your snowman in a vertical line. Try to line up the buttons to be directly between where the eyes on the top portion are attached.
Tip: If you’re having trouble keeping the buttons in a straight line, you can use a ruler and lightly dot along the edge with a permanent marker. Then, use the dotted line as a guide for securing your buttons.
Step 6: The scarf
Cut an inch-wide strip of felt fabric to be one foot long. Feather the ends with your scissors. Then, fold the strip in half so both ends of the fabric are touching. Wrap the strip around the “neck” of your snowman and pull the feathered ends through the loop formed by folding. Pull gently until the scarf is snug and completely covering the joint where the top and middle segments meet.
Step 7: The hat
You already formed the base of the hat by folding over the top portion of the sock. Take some time to adjust it so that the eyes are properly exposed. Secure the hat in place with the white thread. If you have remaining buttons, you can use them to decorate the brim of the hat for added cuteness!
Congratulations! You now have your snowman. Place him on the mantle, the counter or table to show off your teamwork and creativity!


